 Need a bit more help with Android?
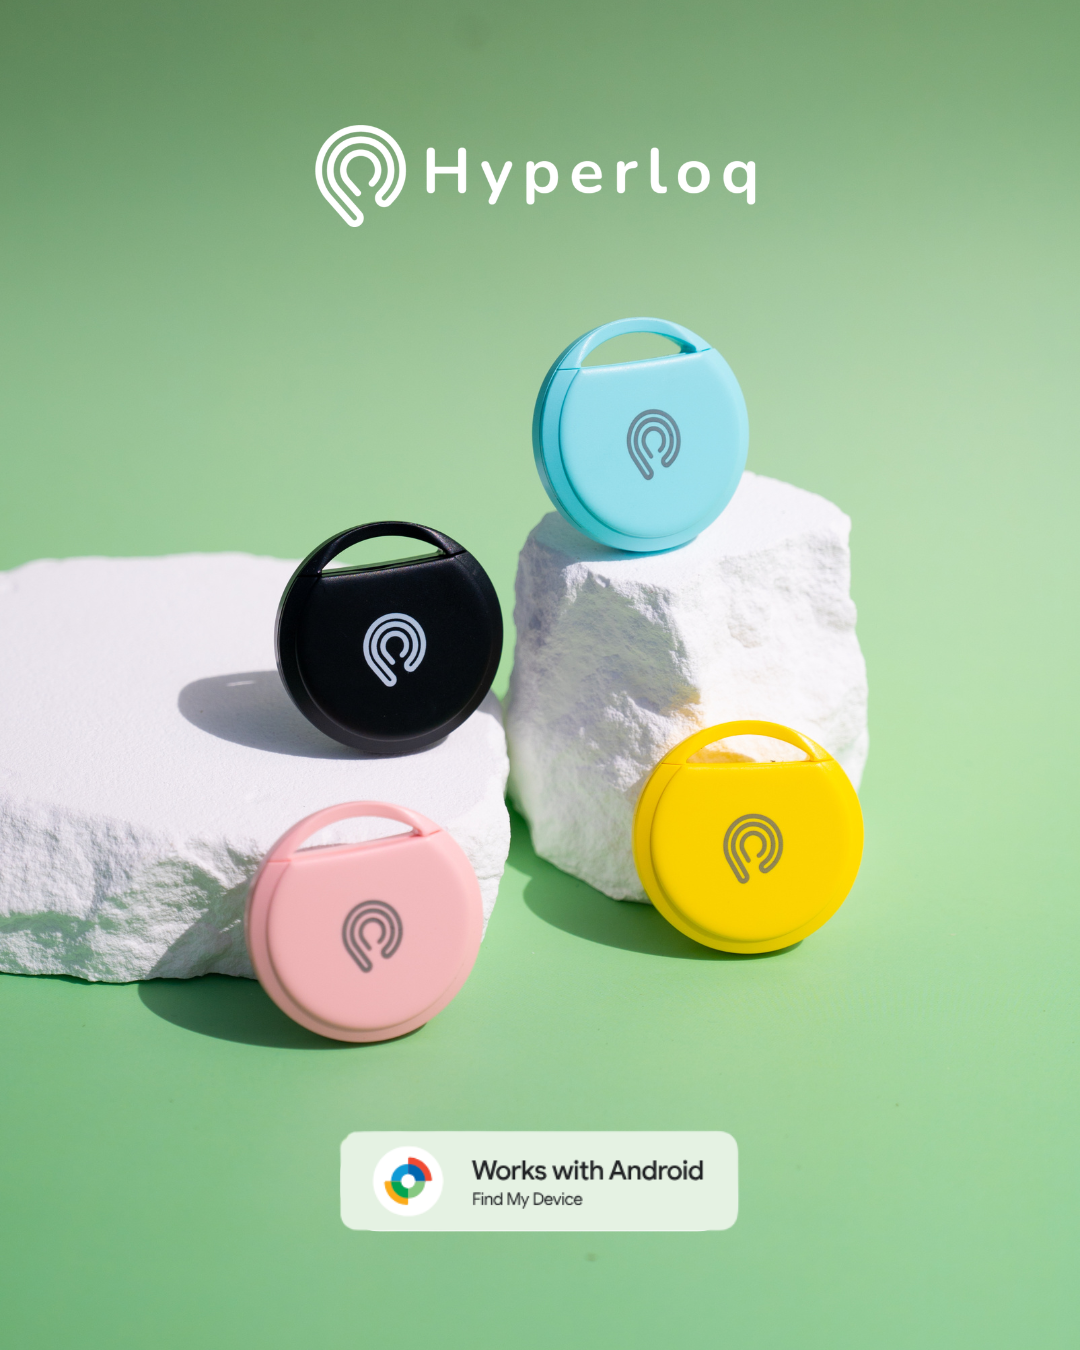
🤖 How to Connect NeoTag (Android Version)
📌 Requirements:
• Bluetooth turned on
• Android 9.0 or newer
• Updated Find My Device app
• Screen lock enabled (PIN, pattern, or Face ID)
✅ Make sure Bluetooth is active and your device is running Android 9 or later.
✅ Enable screen lock (e.g., PIN, pattern, or Face ID).
✅ Download or update the Google Find My Device / Google Find Hub app from the Play Store.
⚠️ Important Note:
Verify this setting is enabled:
Settings > Location > Find My Device > App Permissions > Nearby Devices > Allow
1️⃣ Remove the protective film from the device — NeoTag will appear shortly.
(⚠️ You have 2 minutes to connect it; otherwise, you will need to reset.)
2️⃣ When LocaTag appears, tap Connect and follow the on-screen instructions.
3️⃣ Once paired, you can locate it on the map or trigger a sound.
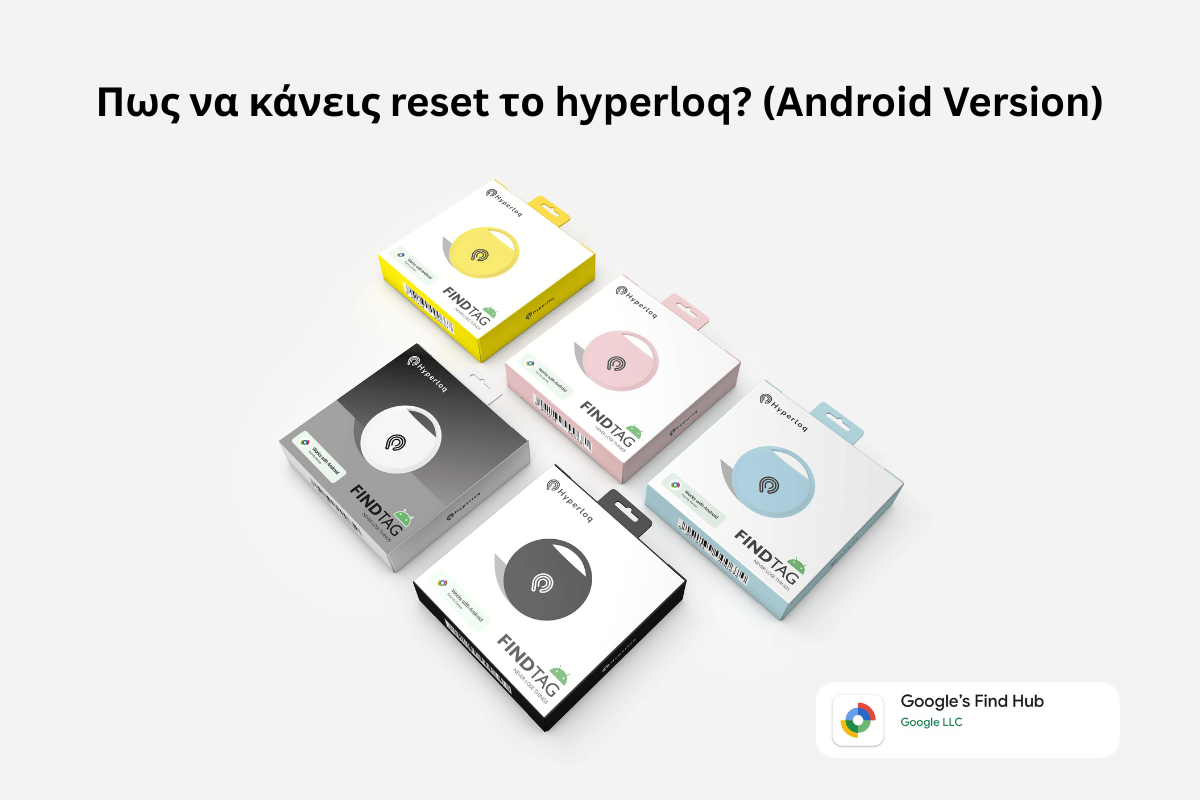
🔄 Reset Instructions
Follow these steps to properly reset and reconnect your device.
✅ Preparation
-
Make sure the battery’s protective film has been removed.
-
Turn on Bluetooth on your phone.
-
Update your phone’s software to the latest version.
-
Open the Google Find My Device / Google Find Hub app.
-
 🔧 Resetting the Device
-
Open the NeoTag’s back cover using the triangular tool included in the package.
-
Remove the battery from the device.
-
Carefully reinsert the battery.
You will hear a distinctive “beep beep beep” sound. -
Quickly press the button on the bottom right 5 times.
-
On the 5th press, hold the button until you hear the same “beep beep beep” sound again.
📱 Pairing the Device
-
In the Google Find My Device / Google Find Hub app, tap the refresh icon.
-
Wait until the device appears with the name LocaTag.
-
Tap Connect.
-
Select Accept and Continue.
-
Tap Open App to complete the setup.
⚠️ Troubleshooting
📌 If the device keeps disconnecting from the app:
You need to enable 2-Step Verification.
How to enable 2-Step Verification on Android:
-
Open the Settings app.
-
Scroll down and tap Google.
-
Tap Manage your Google Account.
-
Go to the Security tab (top menu).
-
Under Signing in to Google, tap 2-Step Verification.
-
Tap Get Started and sign in again if prompted.
-
Choose a method:
• Recommended: Google Prompts (a notification will appear on your phone for confirmation).
• Alternatively, you can use SMS codes or download the Google Authenticator app. -
Follow the on-screen steps to finish the setup.
📌 If the device isn’t updating its location when it’s far away:
Make sure you enable the setting for tracking offline devices, using the option “Network in All Areas.”
-
-

 ⚠️ Having Trouble?
If the device doesn’t reset or doesn’t appear, please contact the Hyperloq Support Team:
📧 info@hyperloq.com
📞 +30 210 700 1507
Share:
The NeoTag by Hyperloq — now available for Android too!
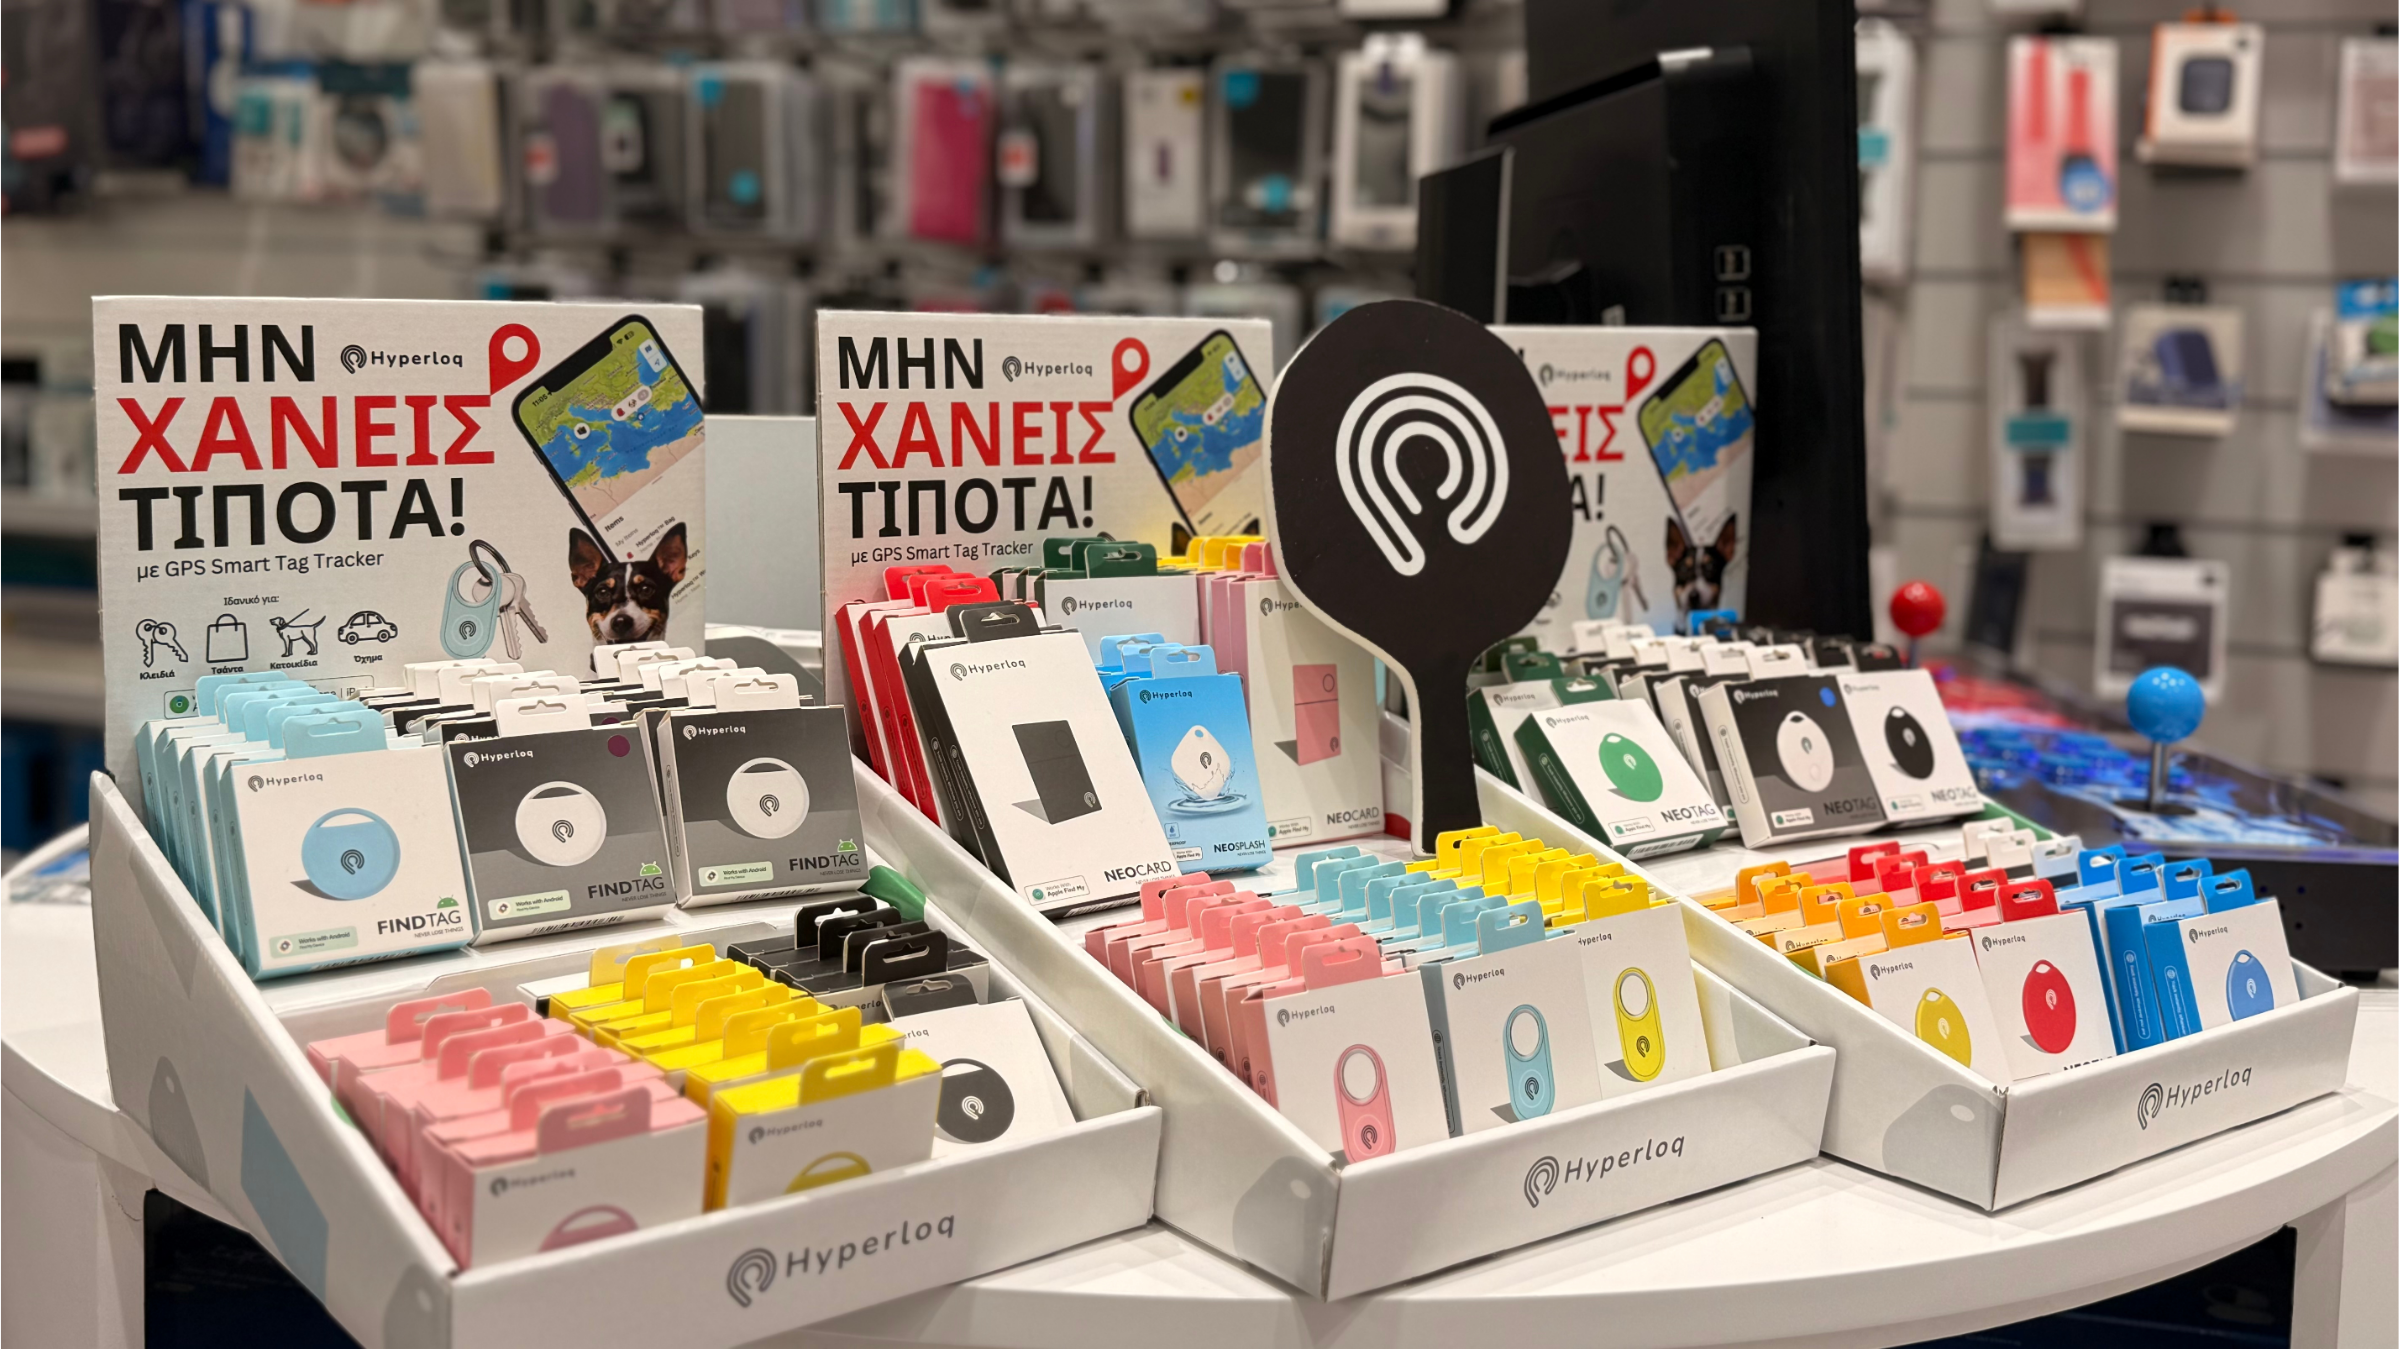
Hyperloq x The Fixers — Νέα Συνεργασία και Εκδήλωση στο Σύνταγμα